 "Aaron Vick Starnes" (aaronstarnes)
08/13/2014 at 17:18 • Filed to: None
 8
8
 9
9
 "Aaron Vick Starnes" (aaronstarnes)
08/13/2014 at 17:18 • Filed to: None |  8 8
|  9 9 |
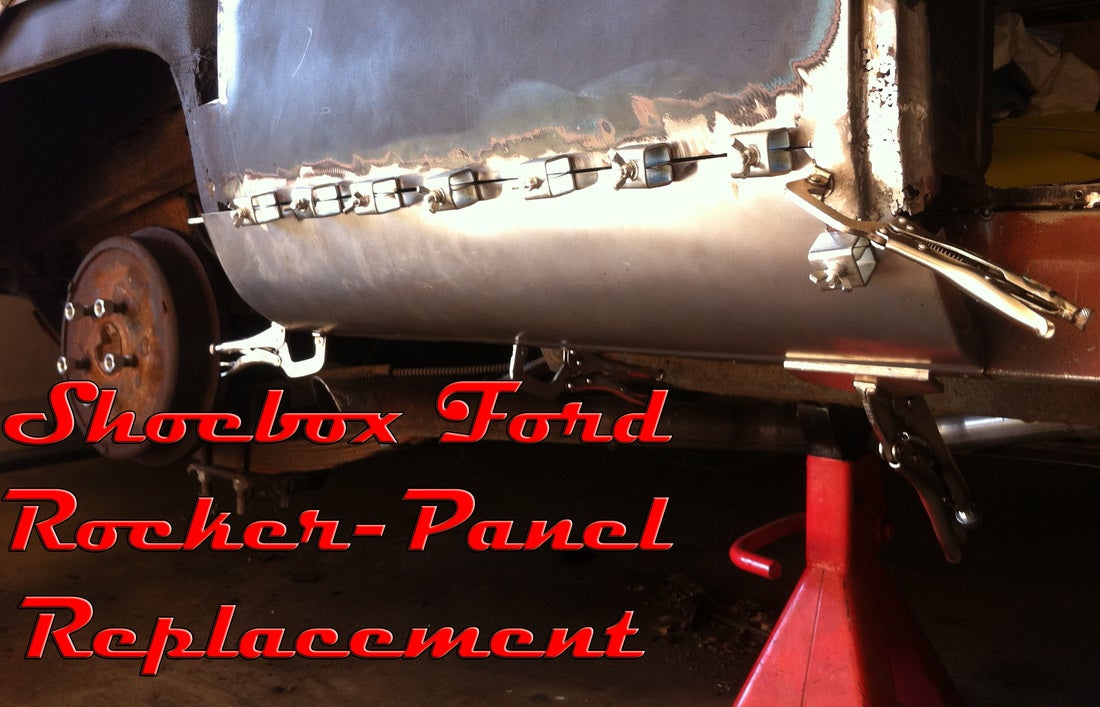
The rockers on my old Ford were rotten and disgusting. People couldn't exit the car without gnarly rust taking a bite out of their calf. So, for the sake of my friend's legs, I cut out the rust and welded in fresh cold steel. Here's how I did it.
I bought some !!!error: Indecipherable SUB-paragraph formatting!!! . They were 60 bucks for a pair plus shipping; 30 bucks a side isn't too bad to get rid of that nasty tin worm.
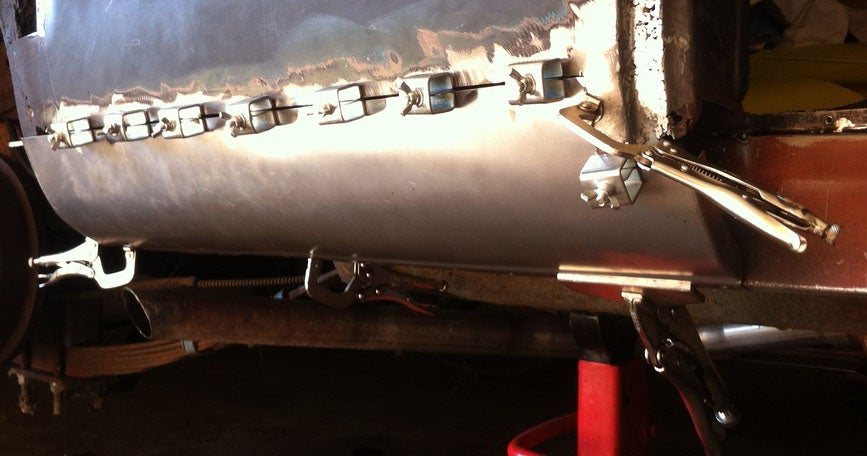
They seemed a little thinner than the stock steel, but they were good quality and didn't and ground down my beads. After grinding I welded up any pinholes I found. Full Disclosure, I don't have a lot of experience welding and I leave plenty of pinholes.
Tacked
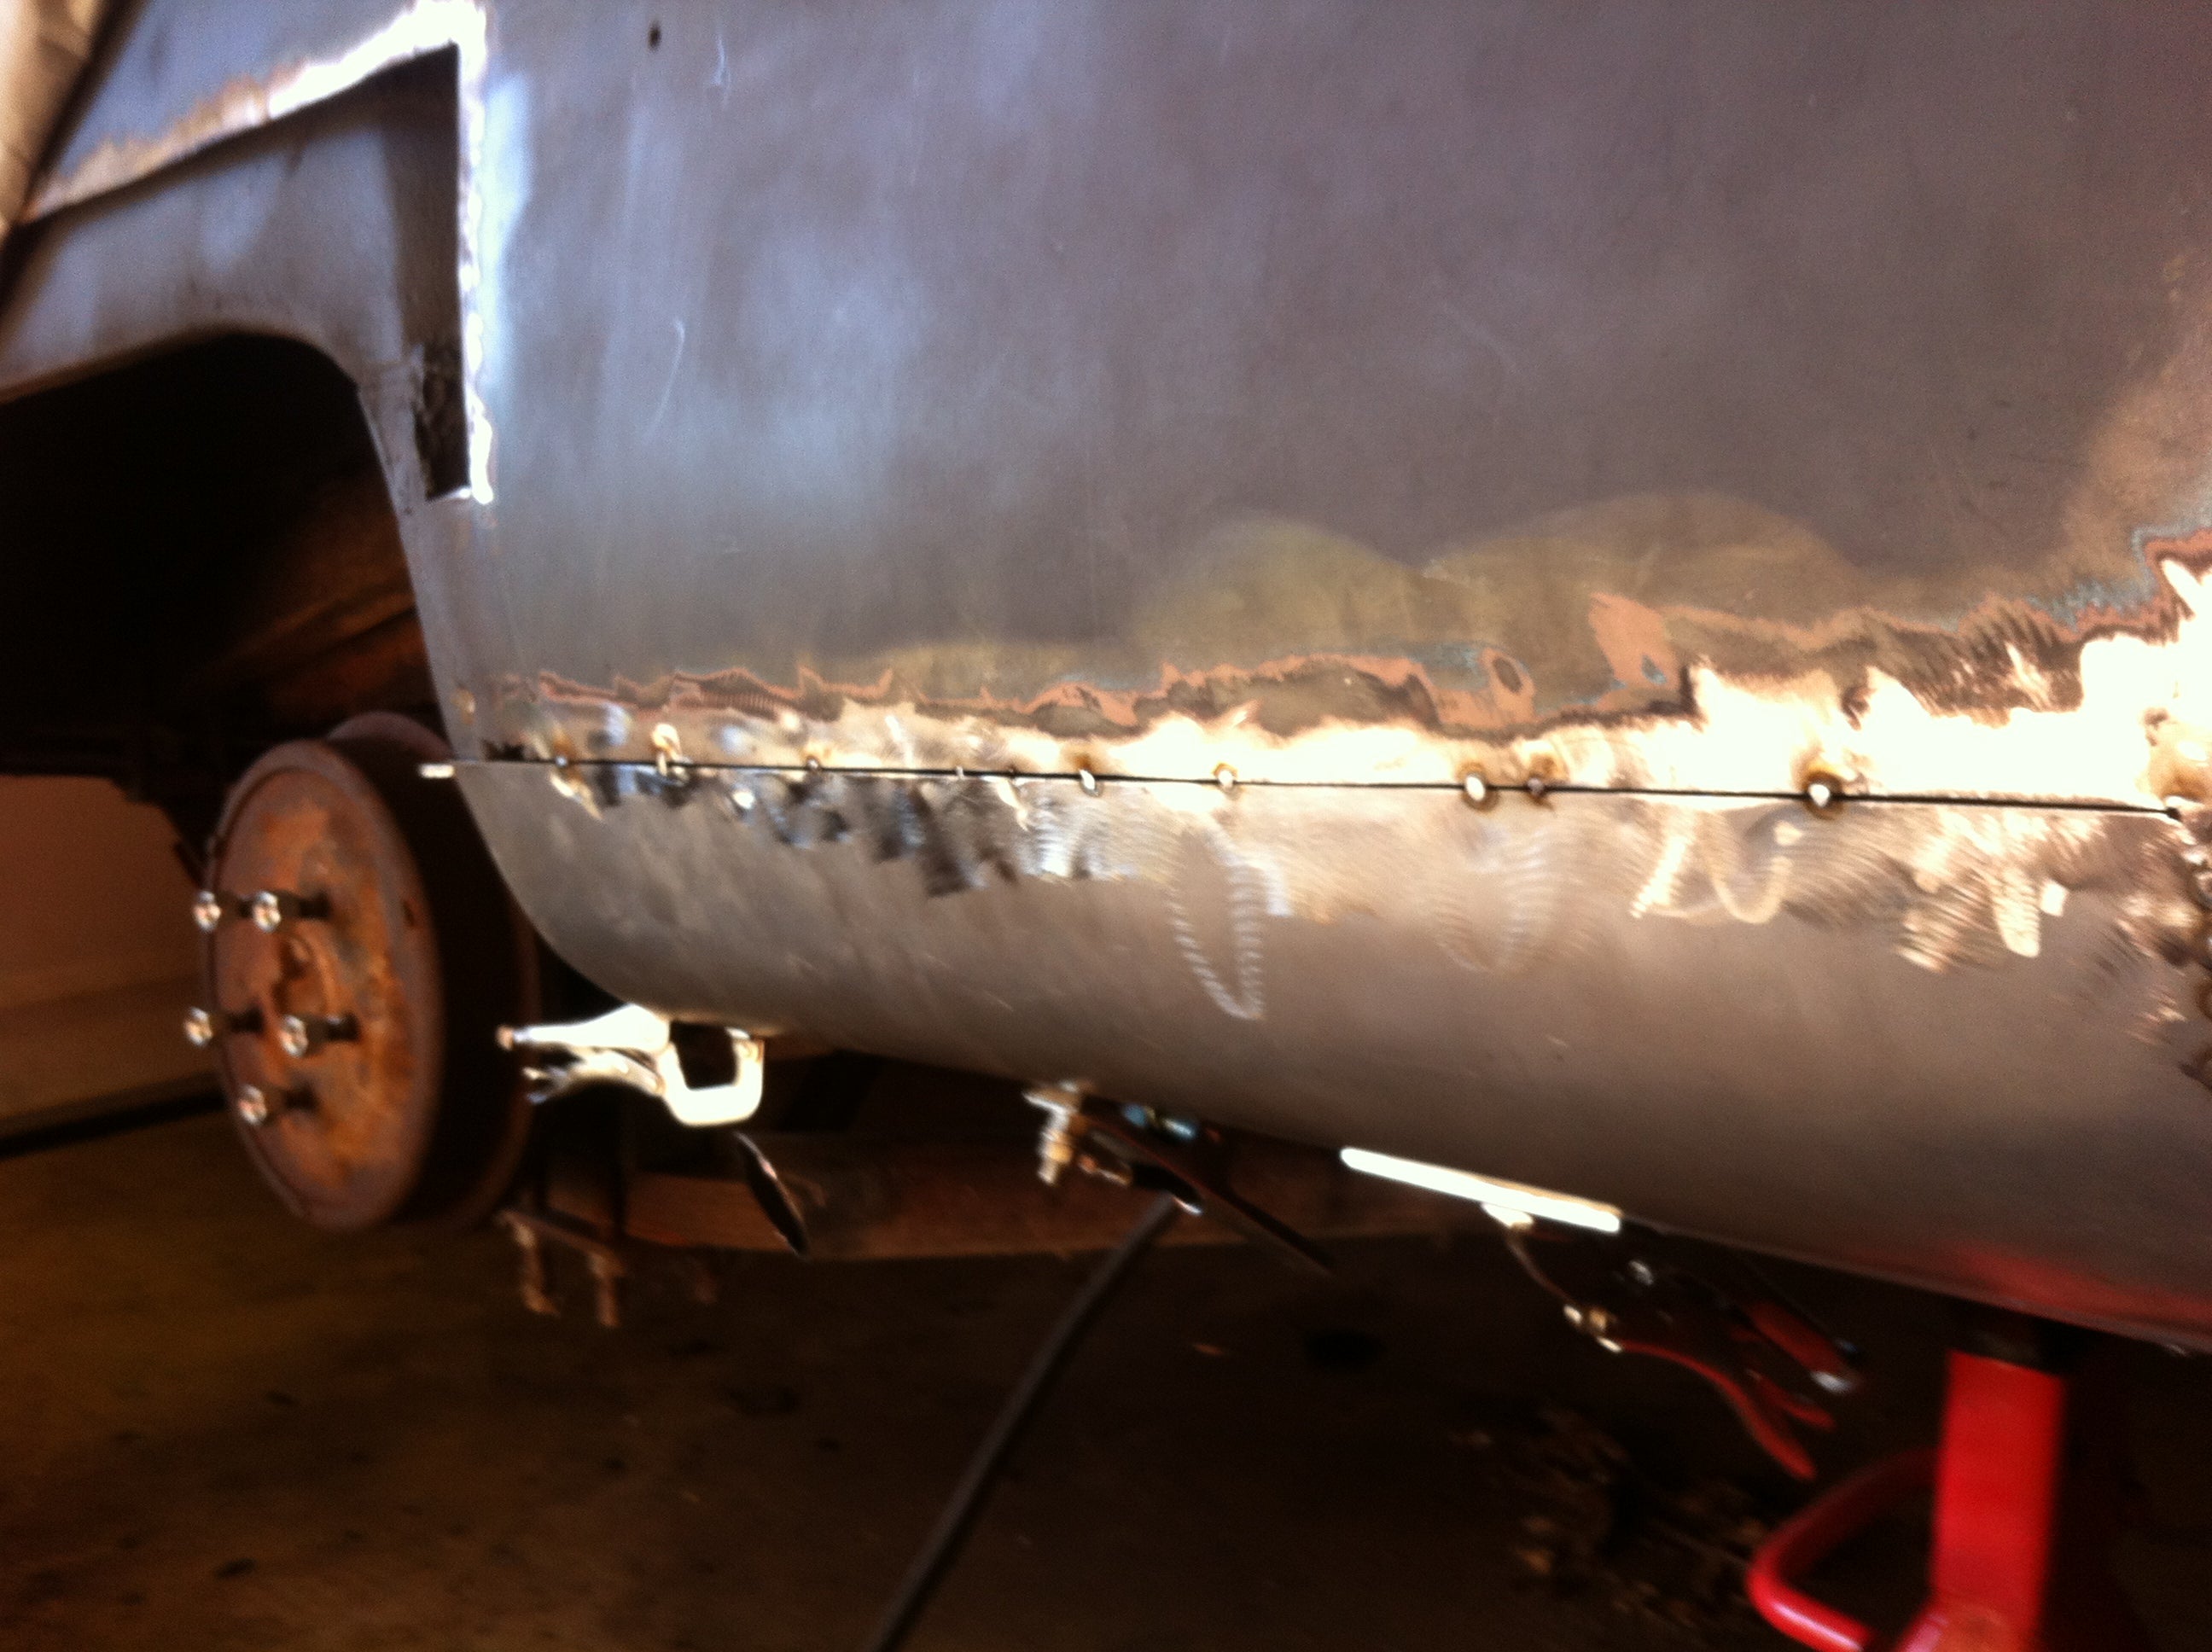
Welded
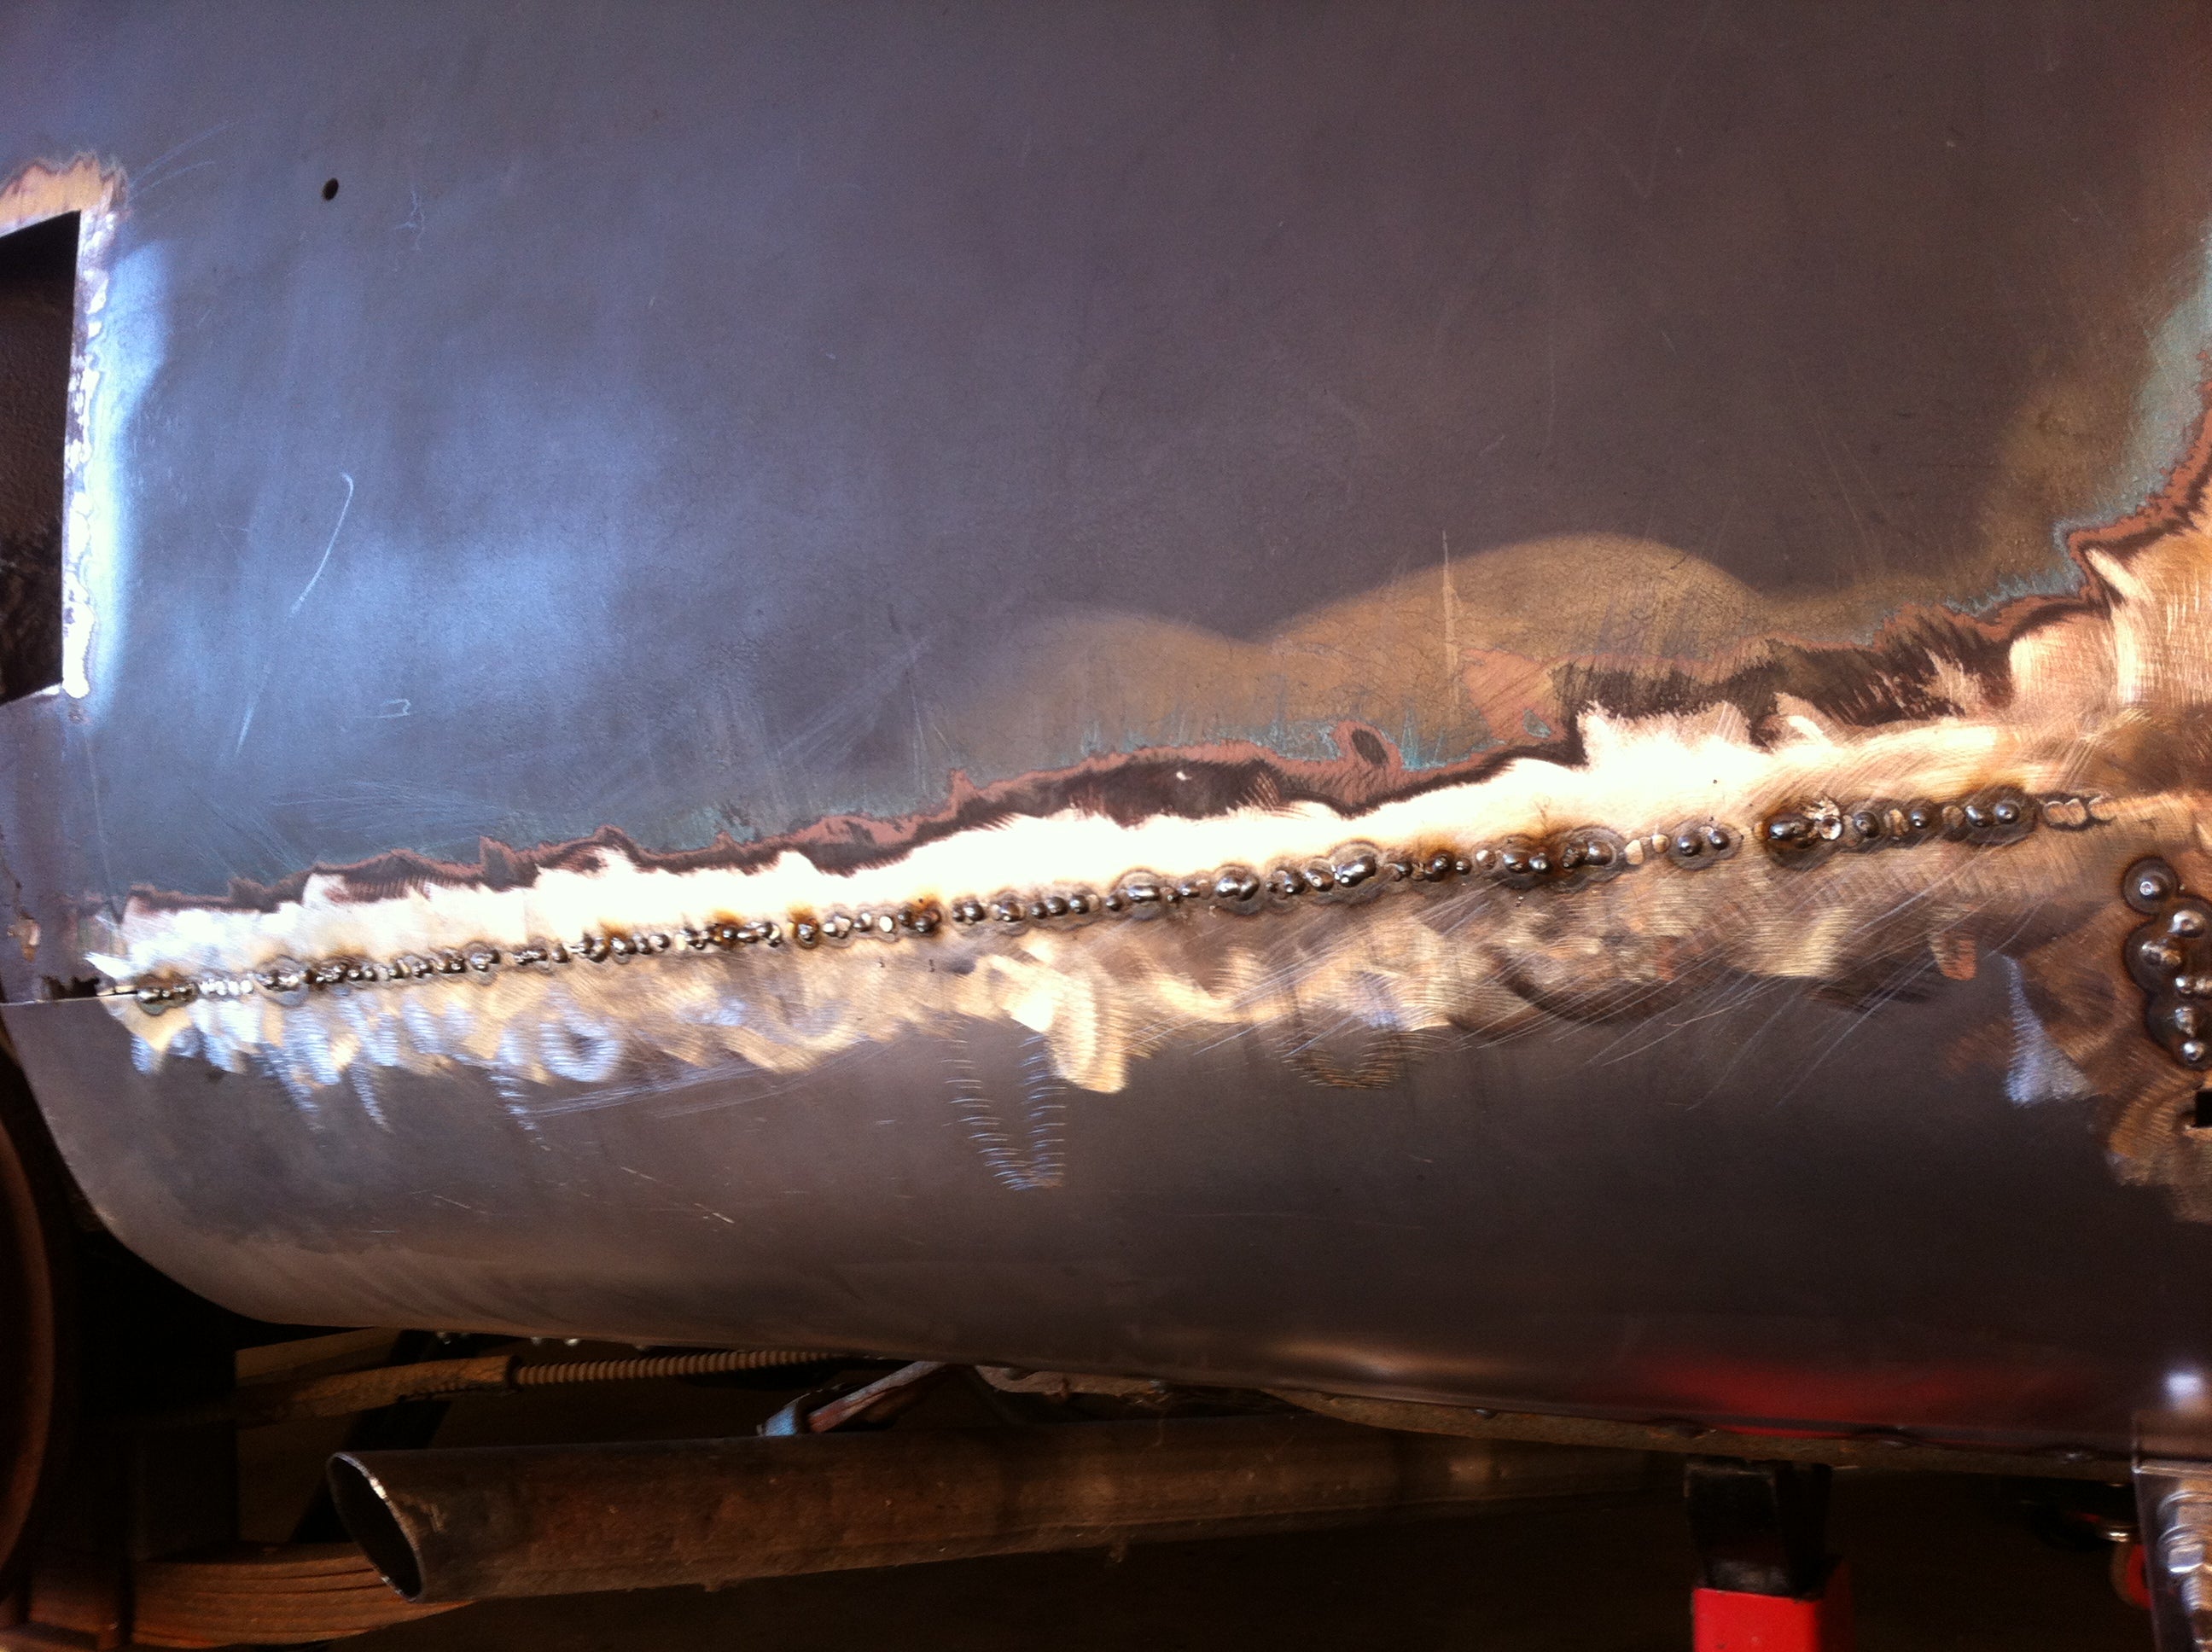
Ground Down
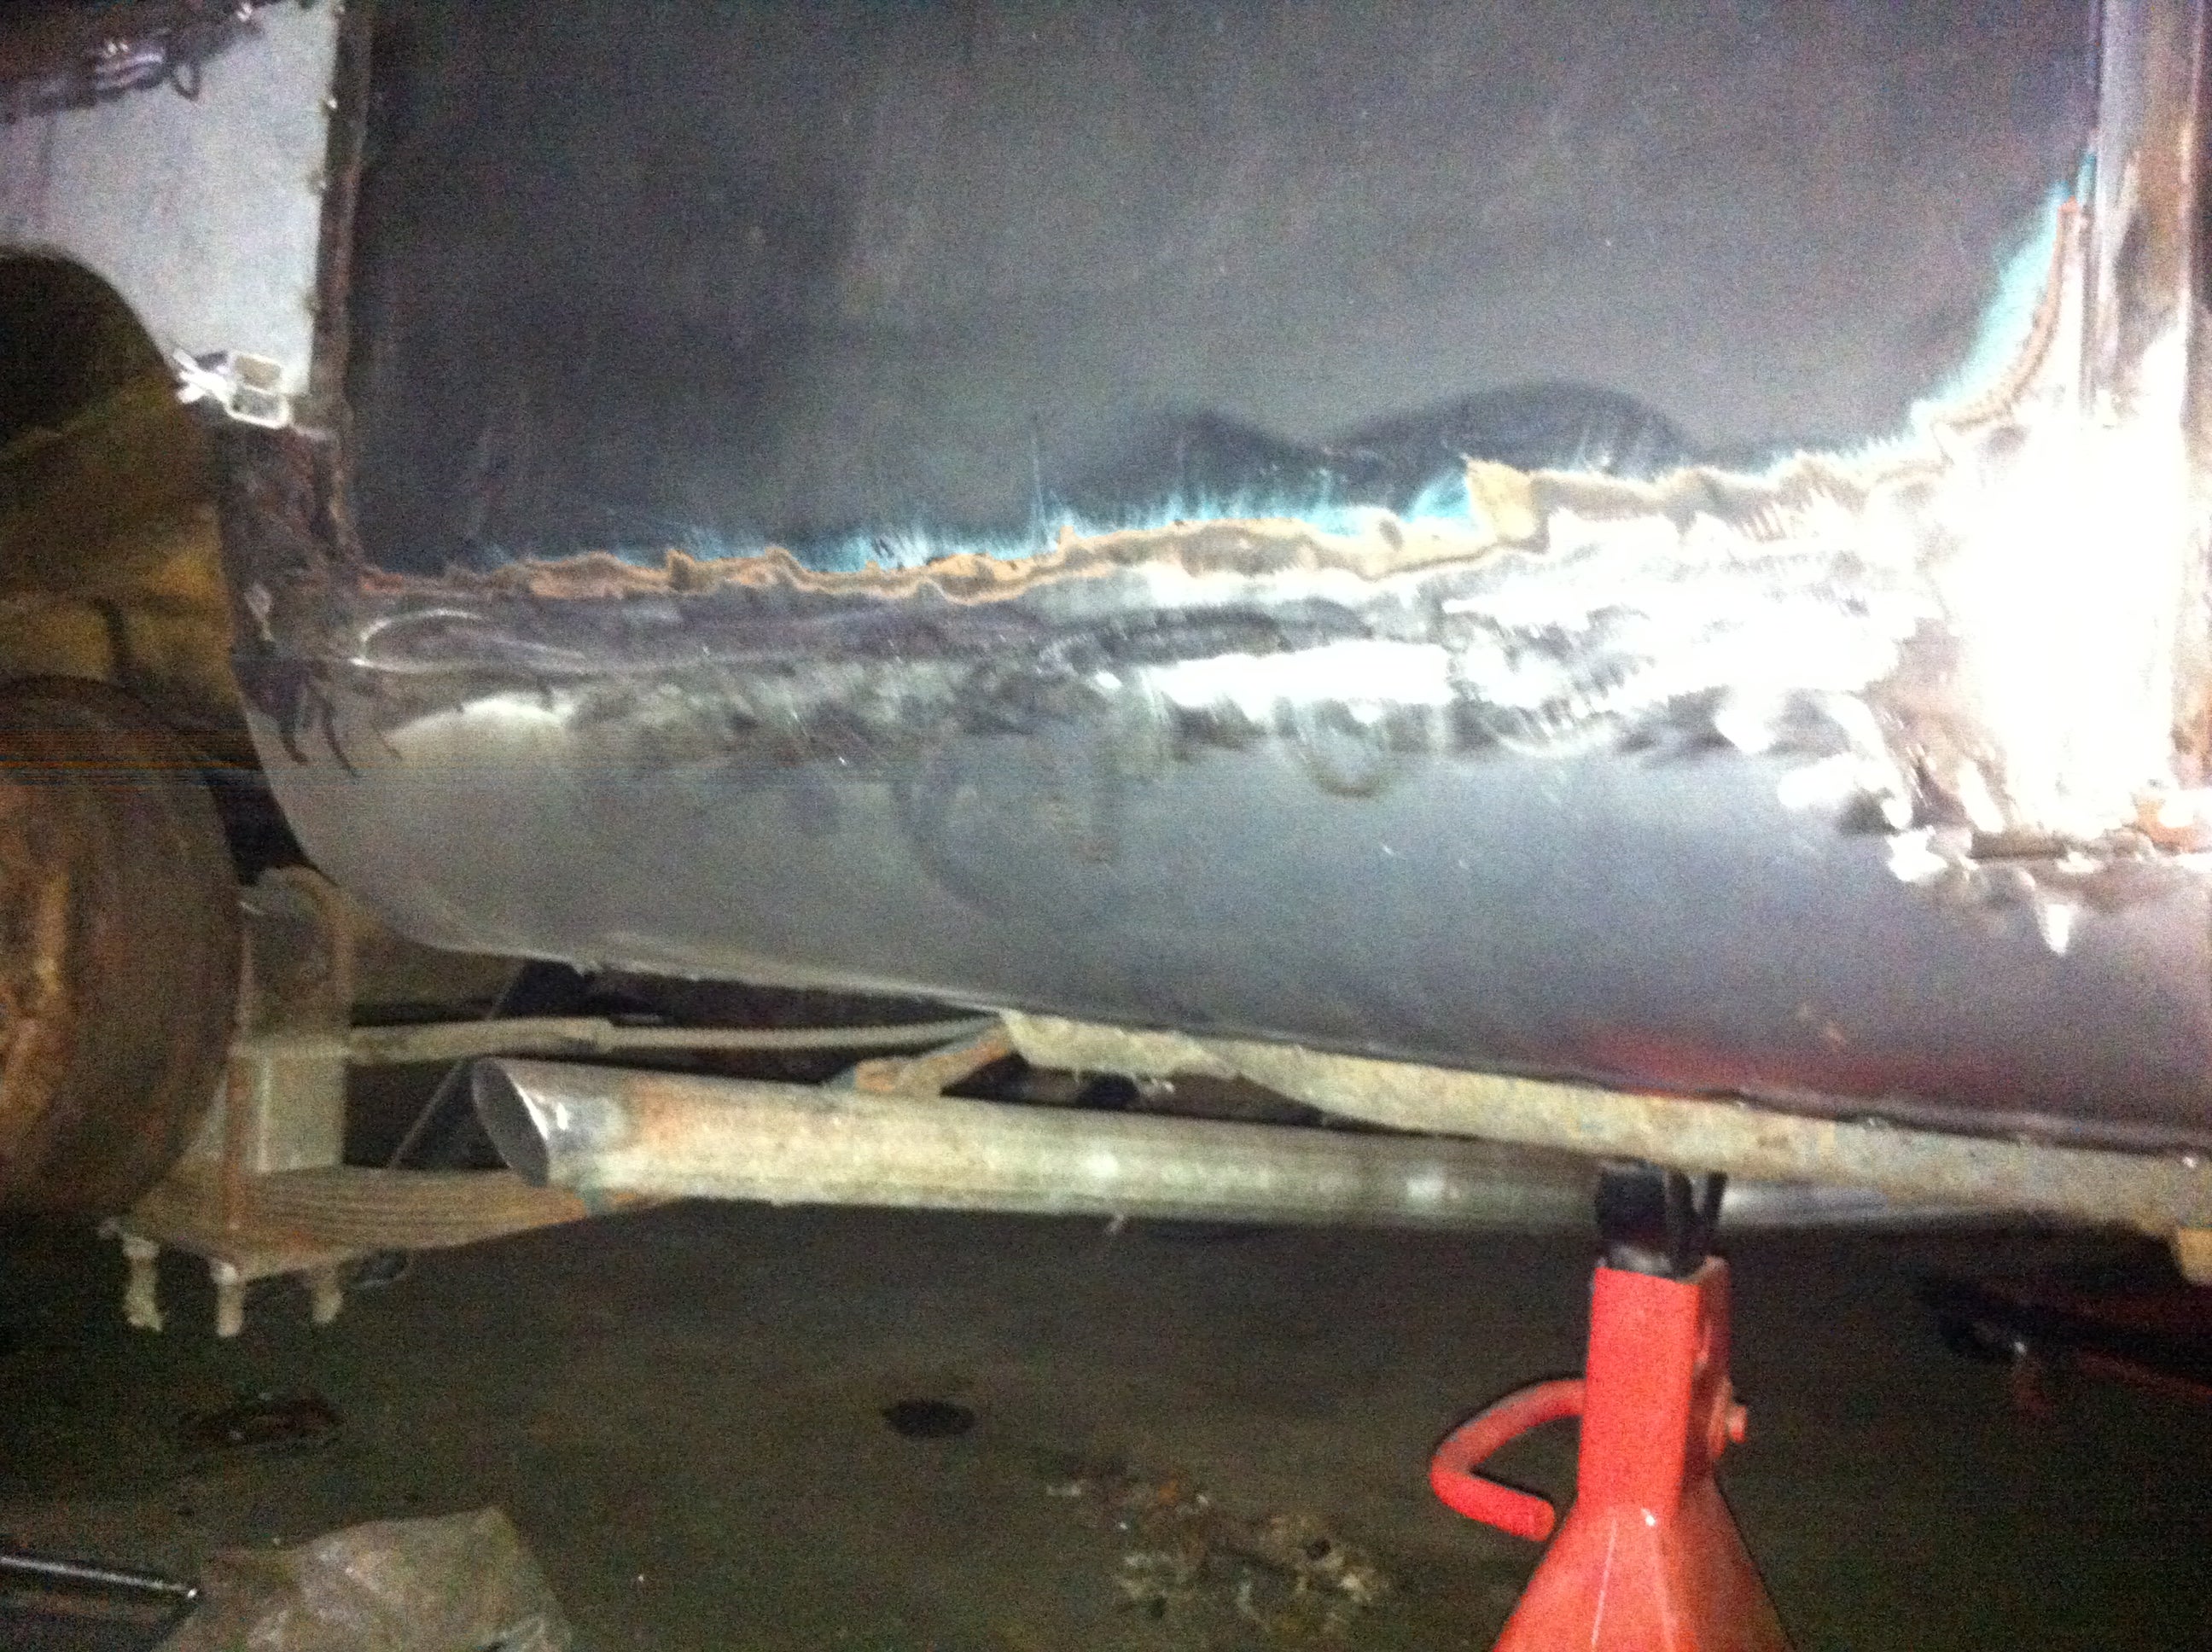
After the rocker to the rear of the door was sorted out, I set about the task of fitting the new rocker beneath the door.
So I broke out the clamps and did a little creative cutting to get this thing to fit right.
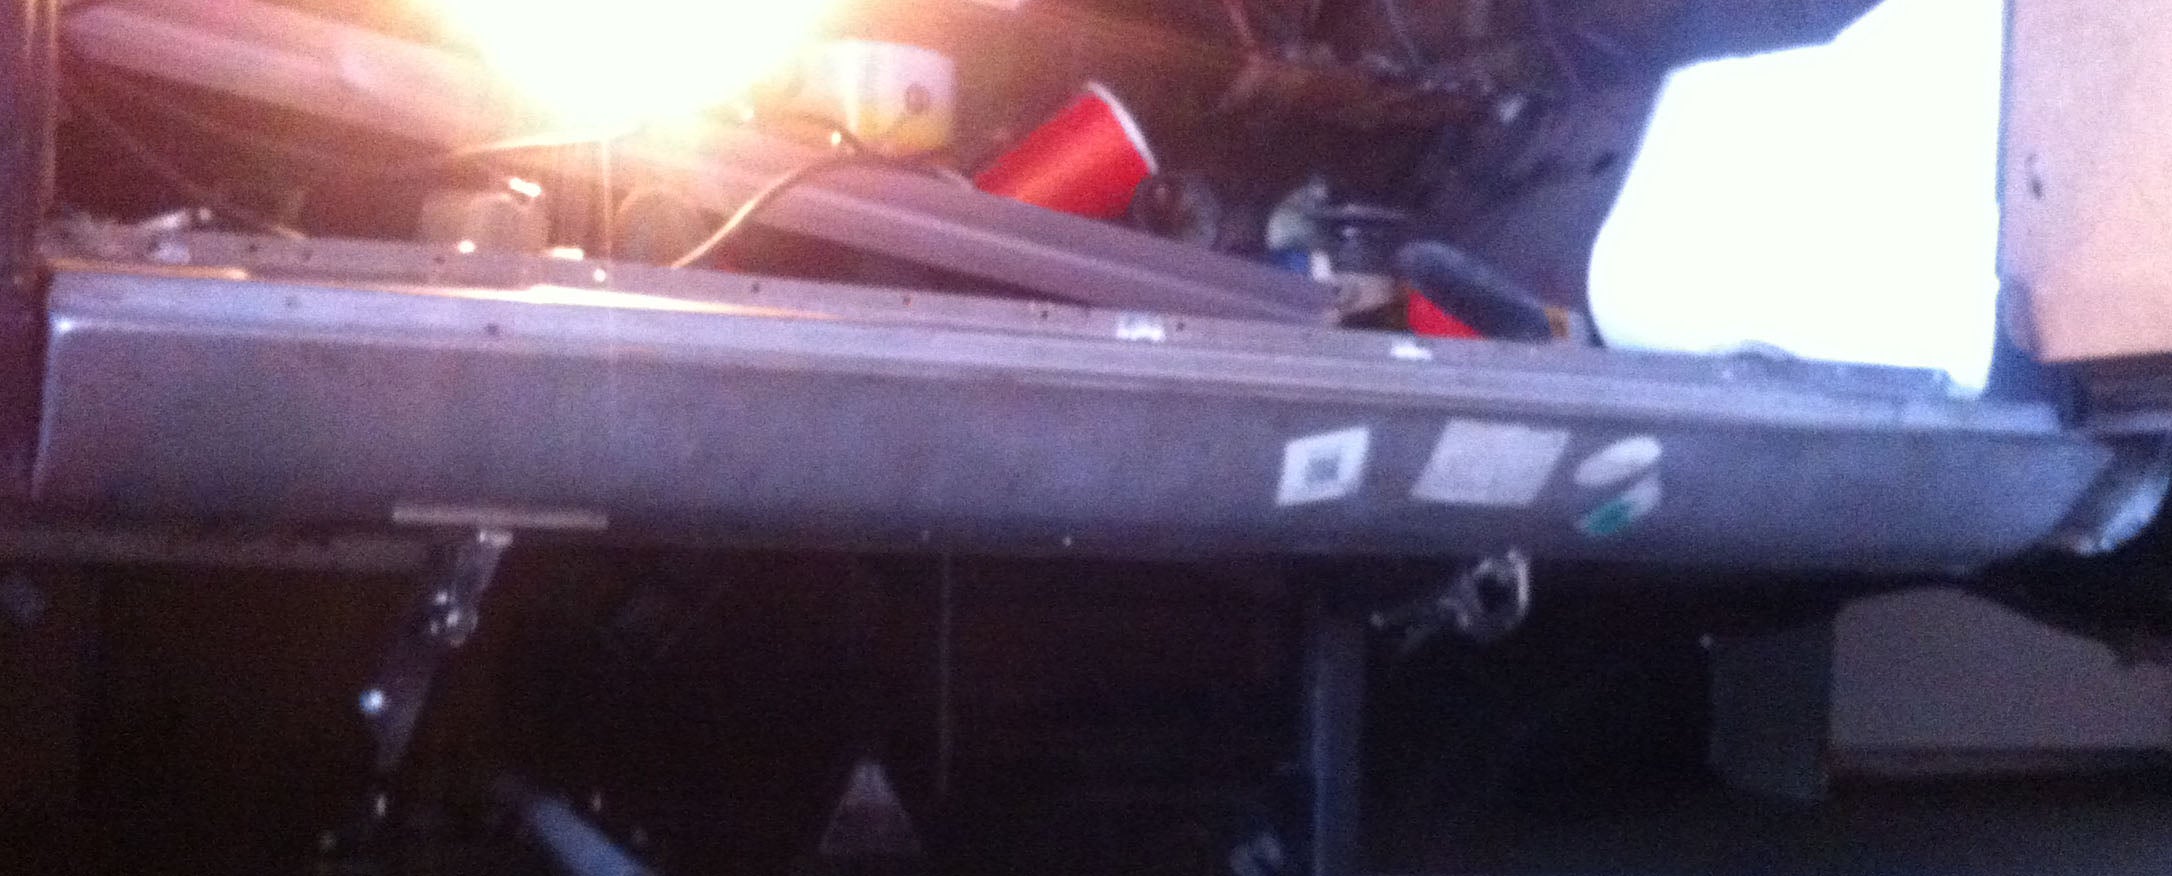
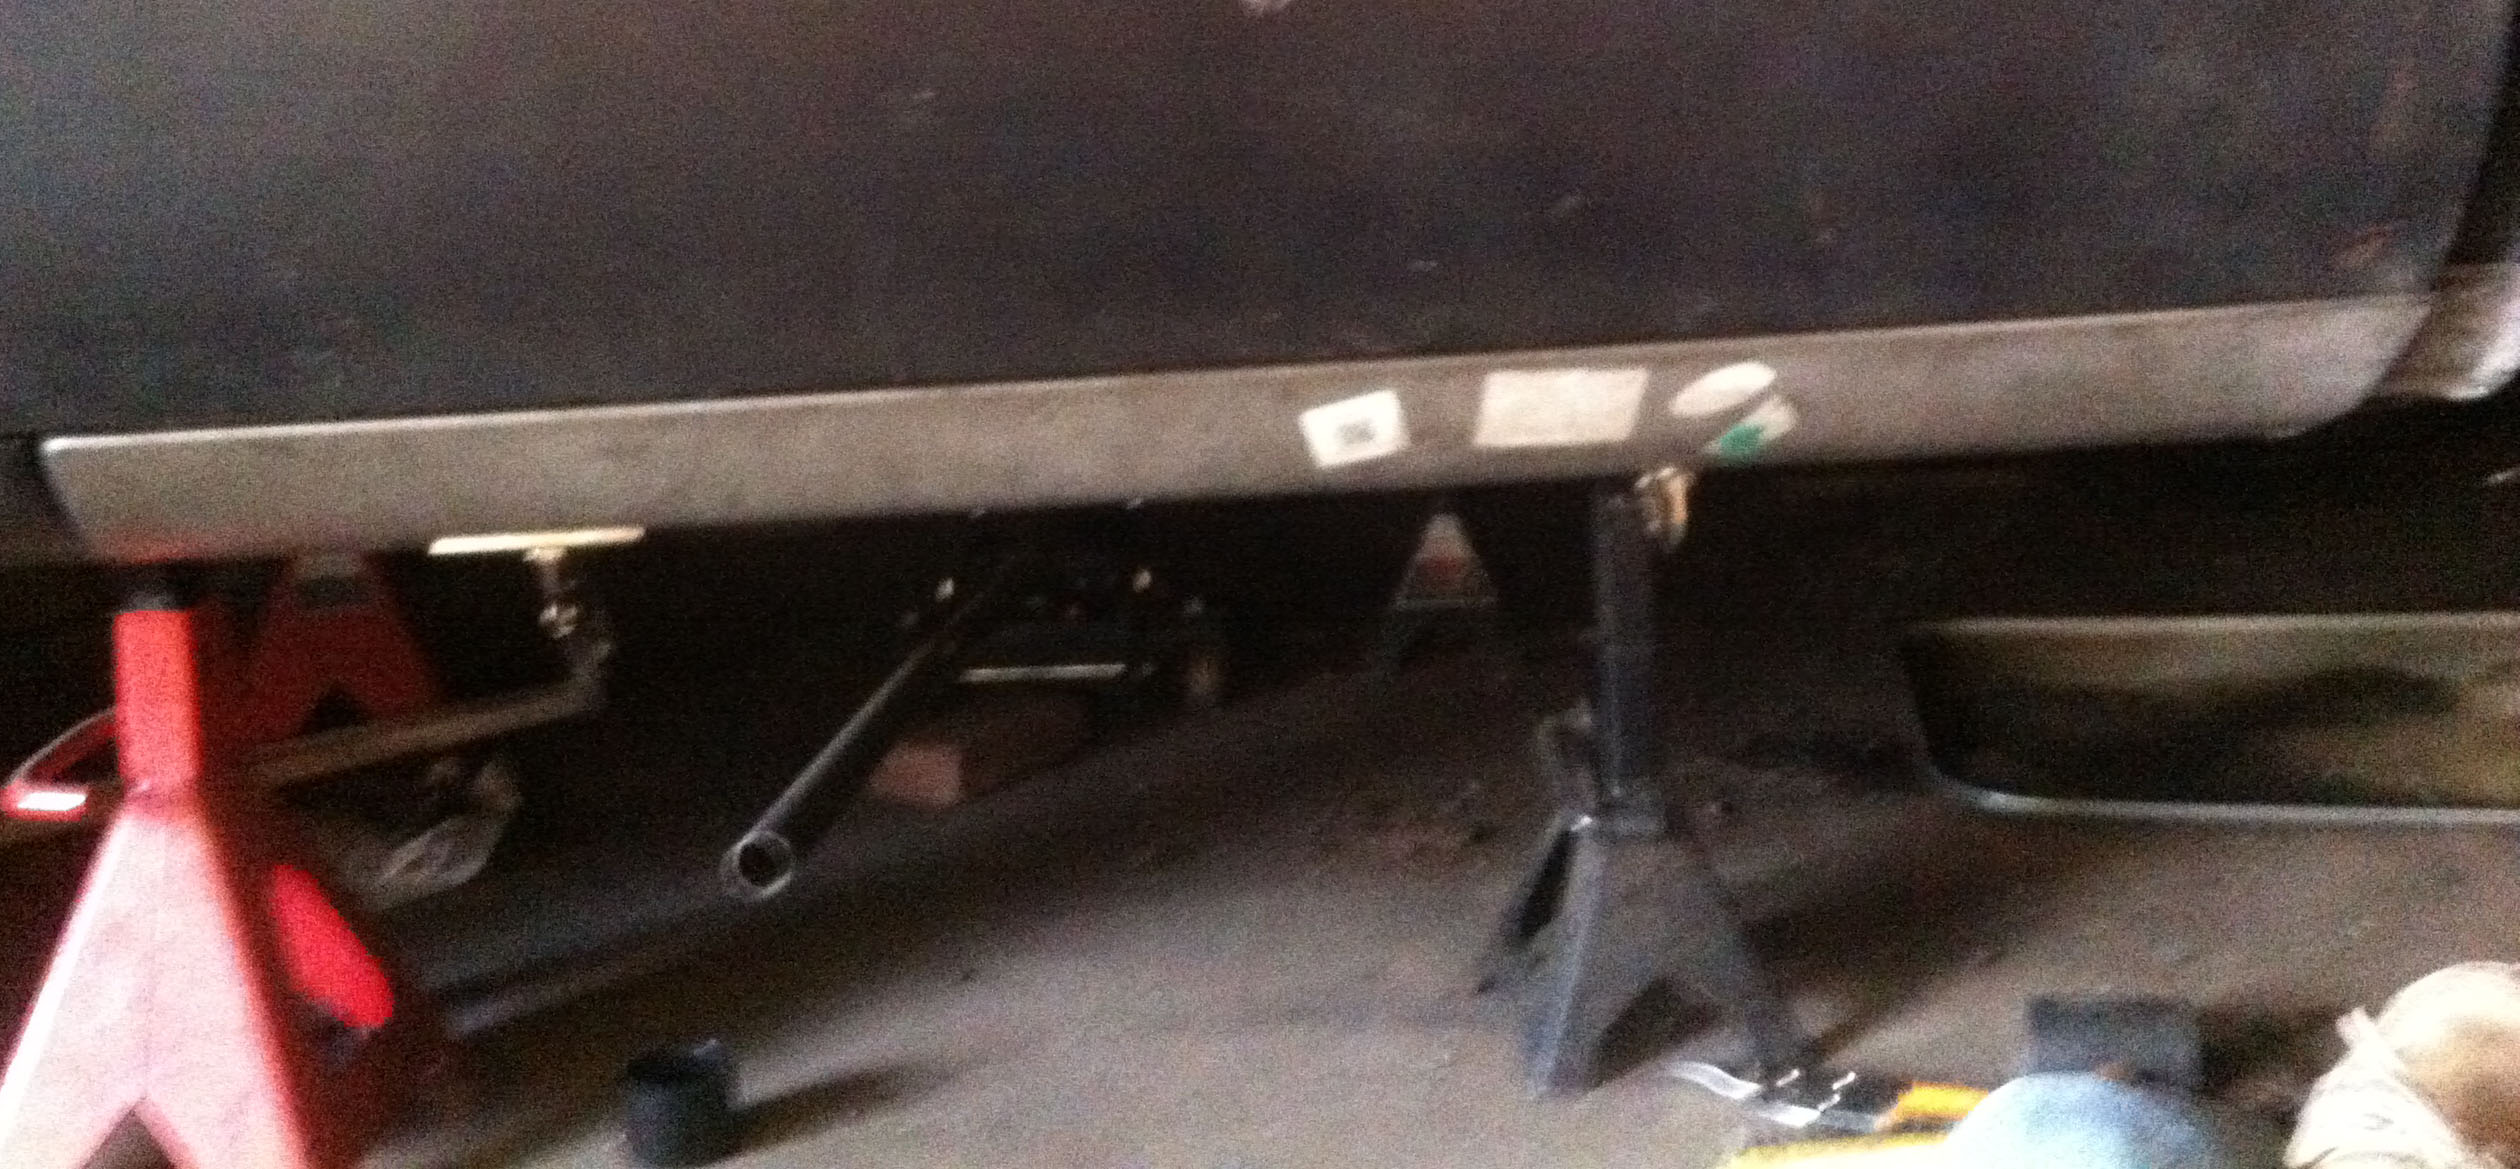
I used my air punch to pop some holes along the bottom so I could plug weld the outer rocker to the inner rocker.
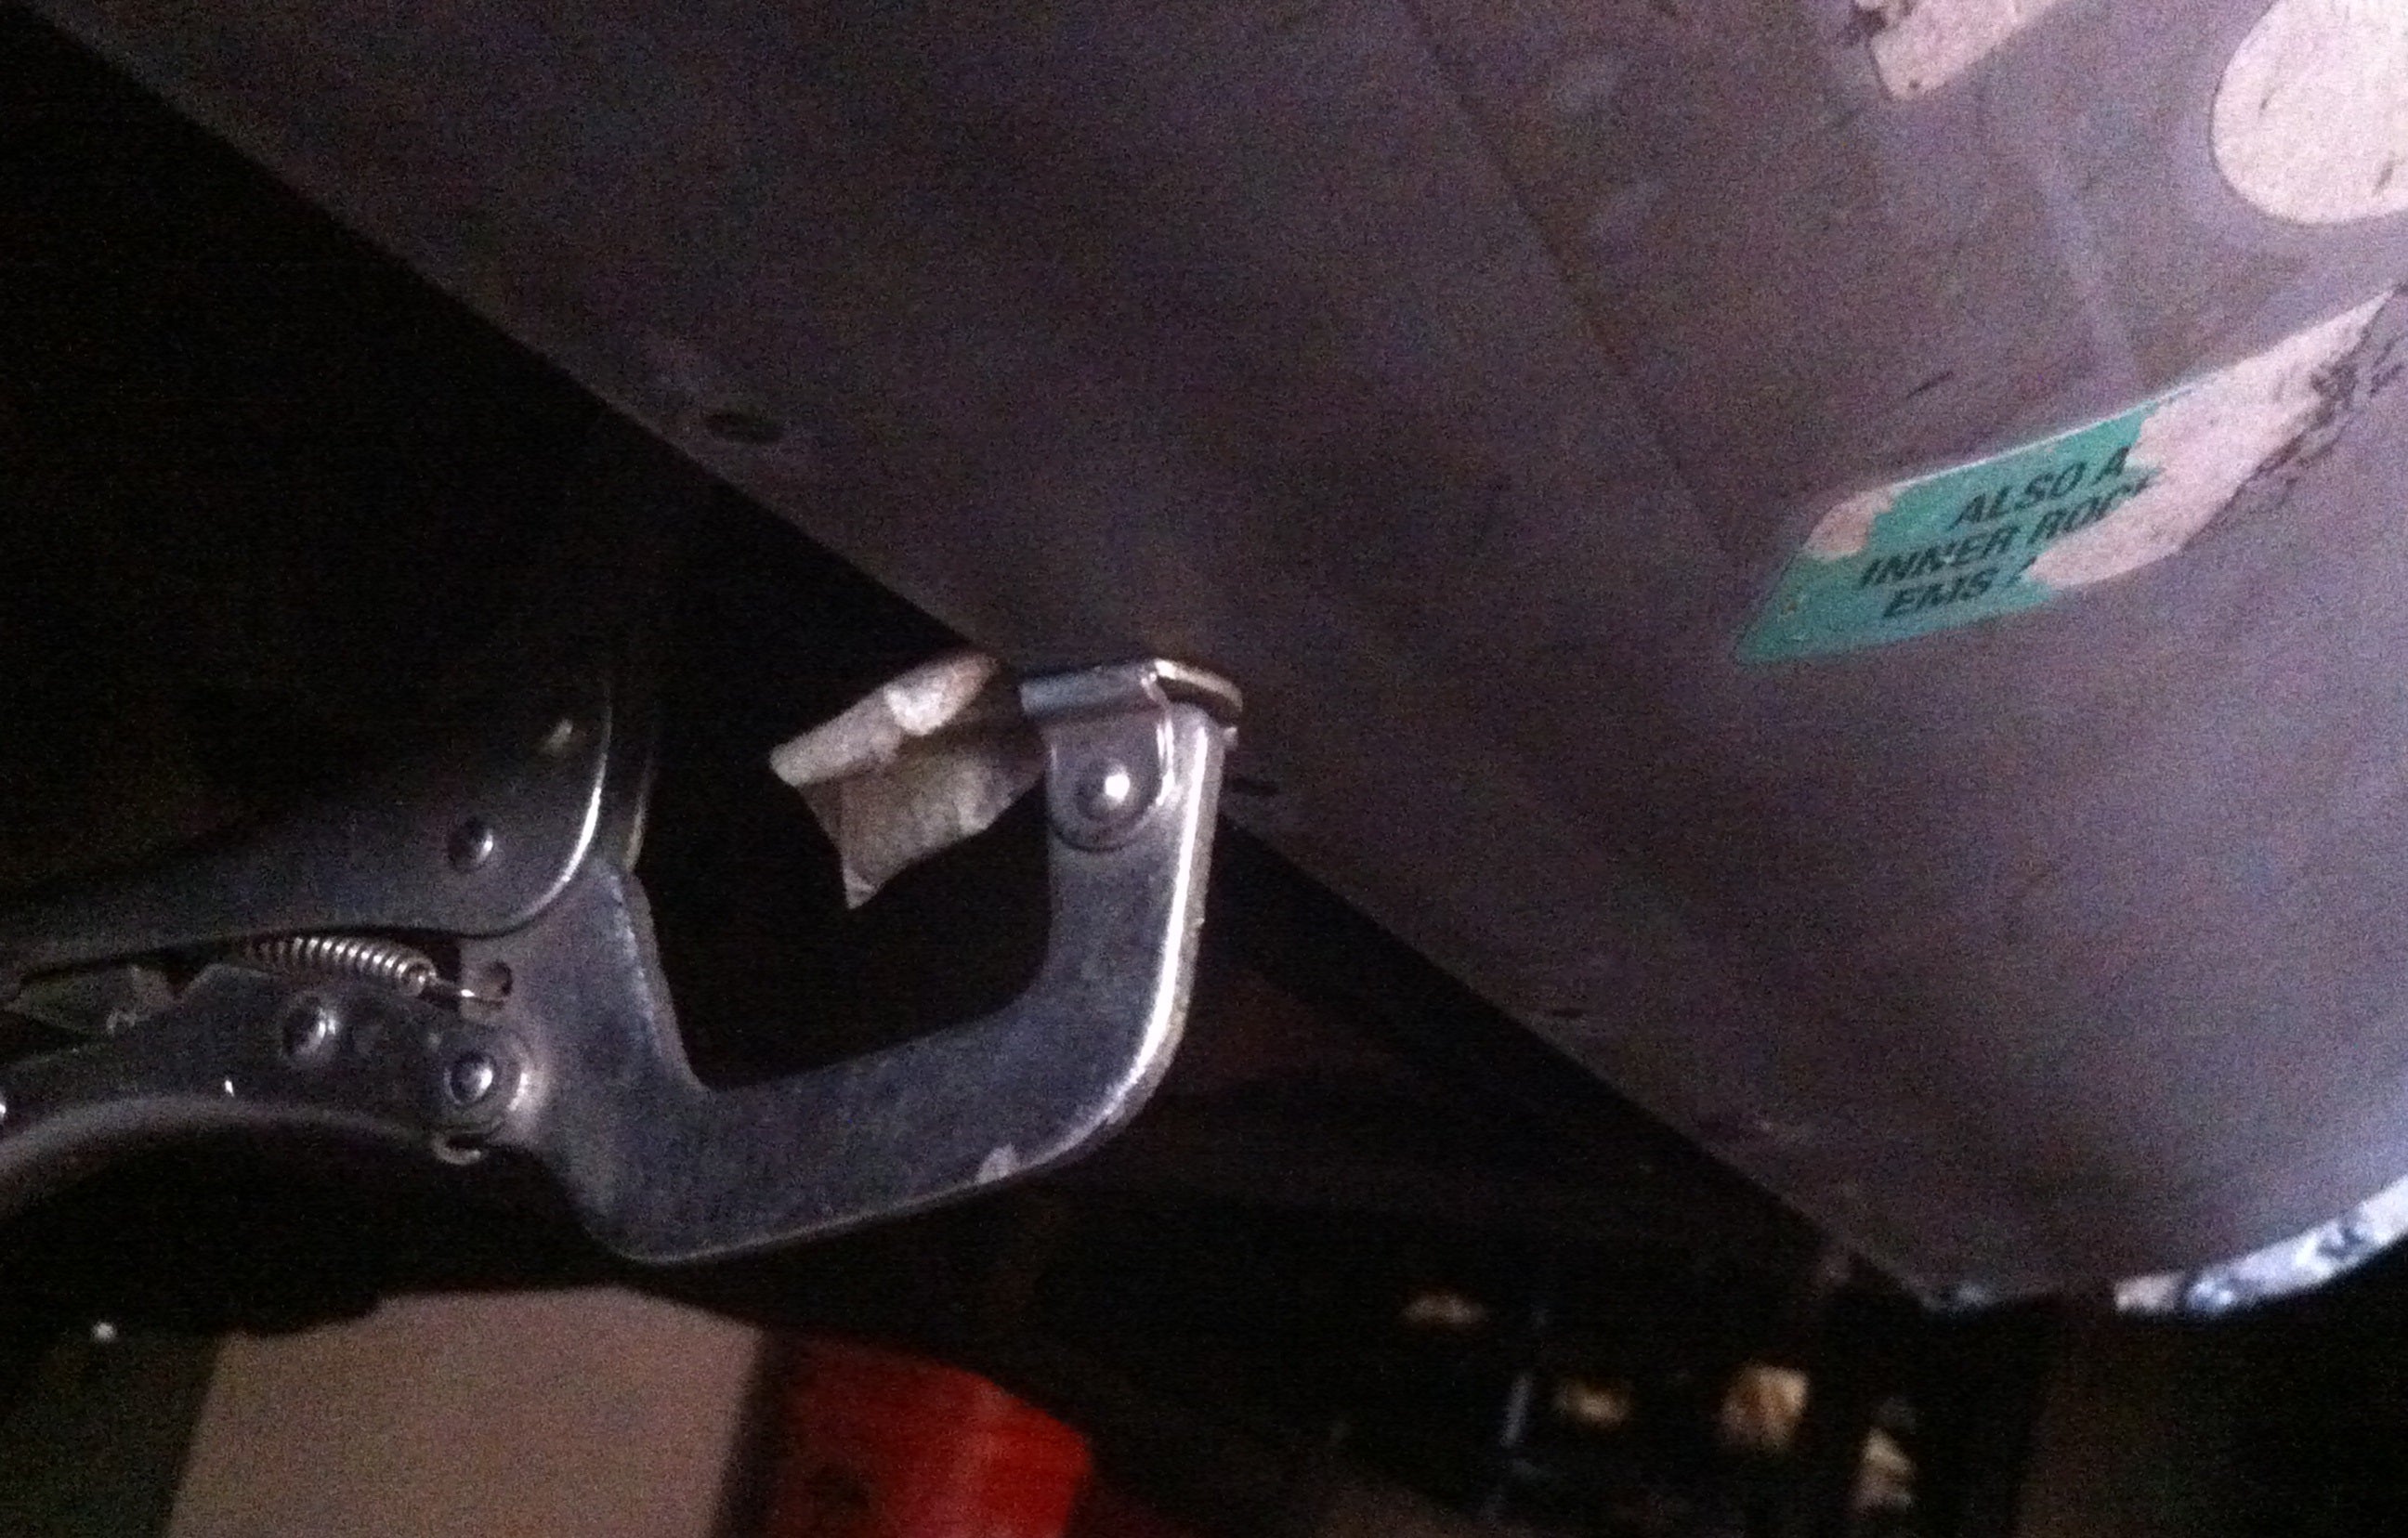
This works pretty well but welding upside down through a tiny hole is challenging. I made sure to move my clamp along as I welded to ensure the two pieces were making good contact.
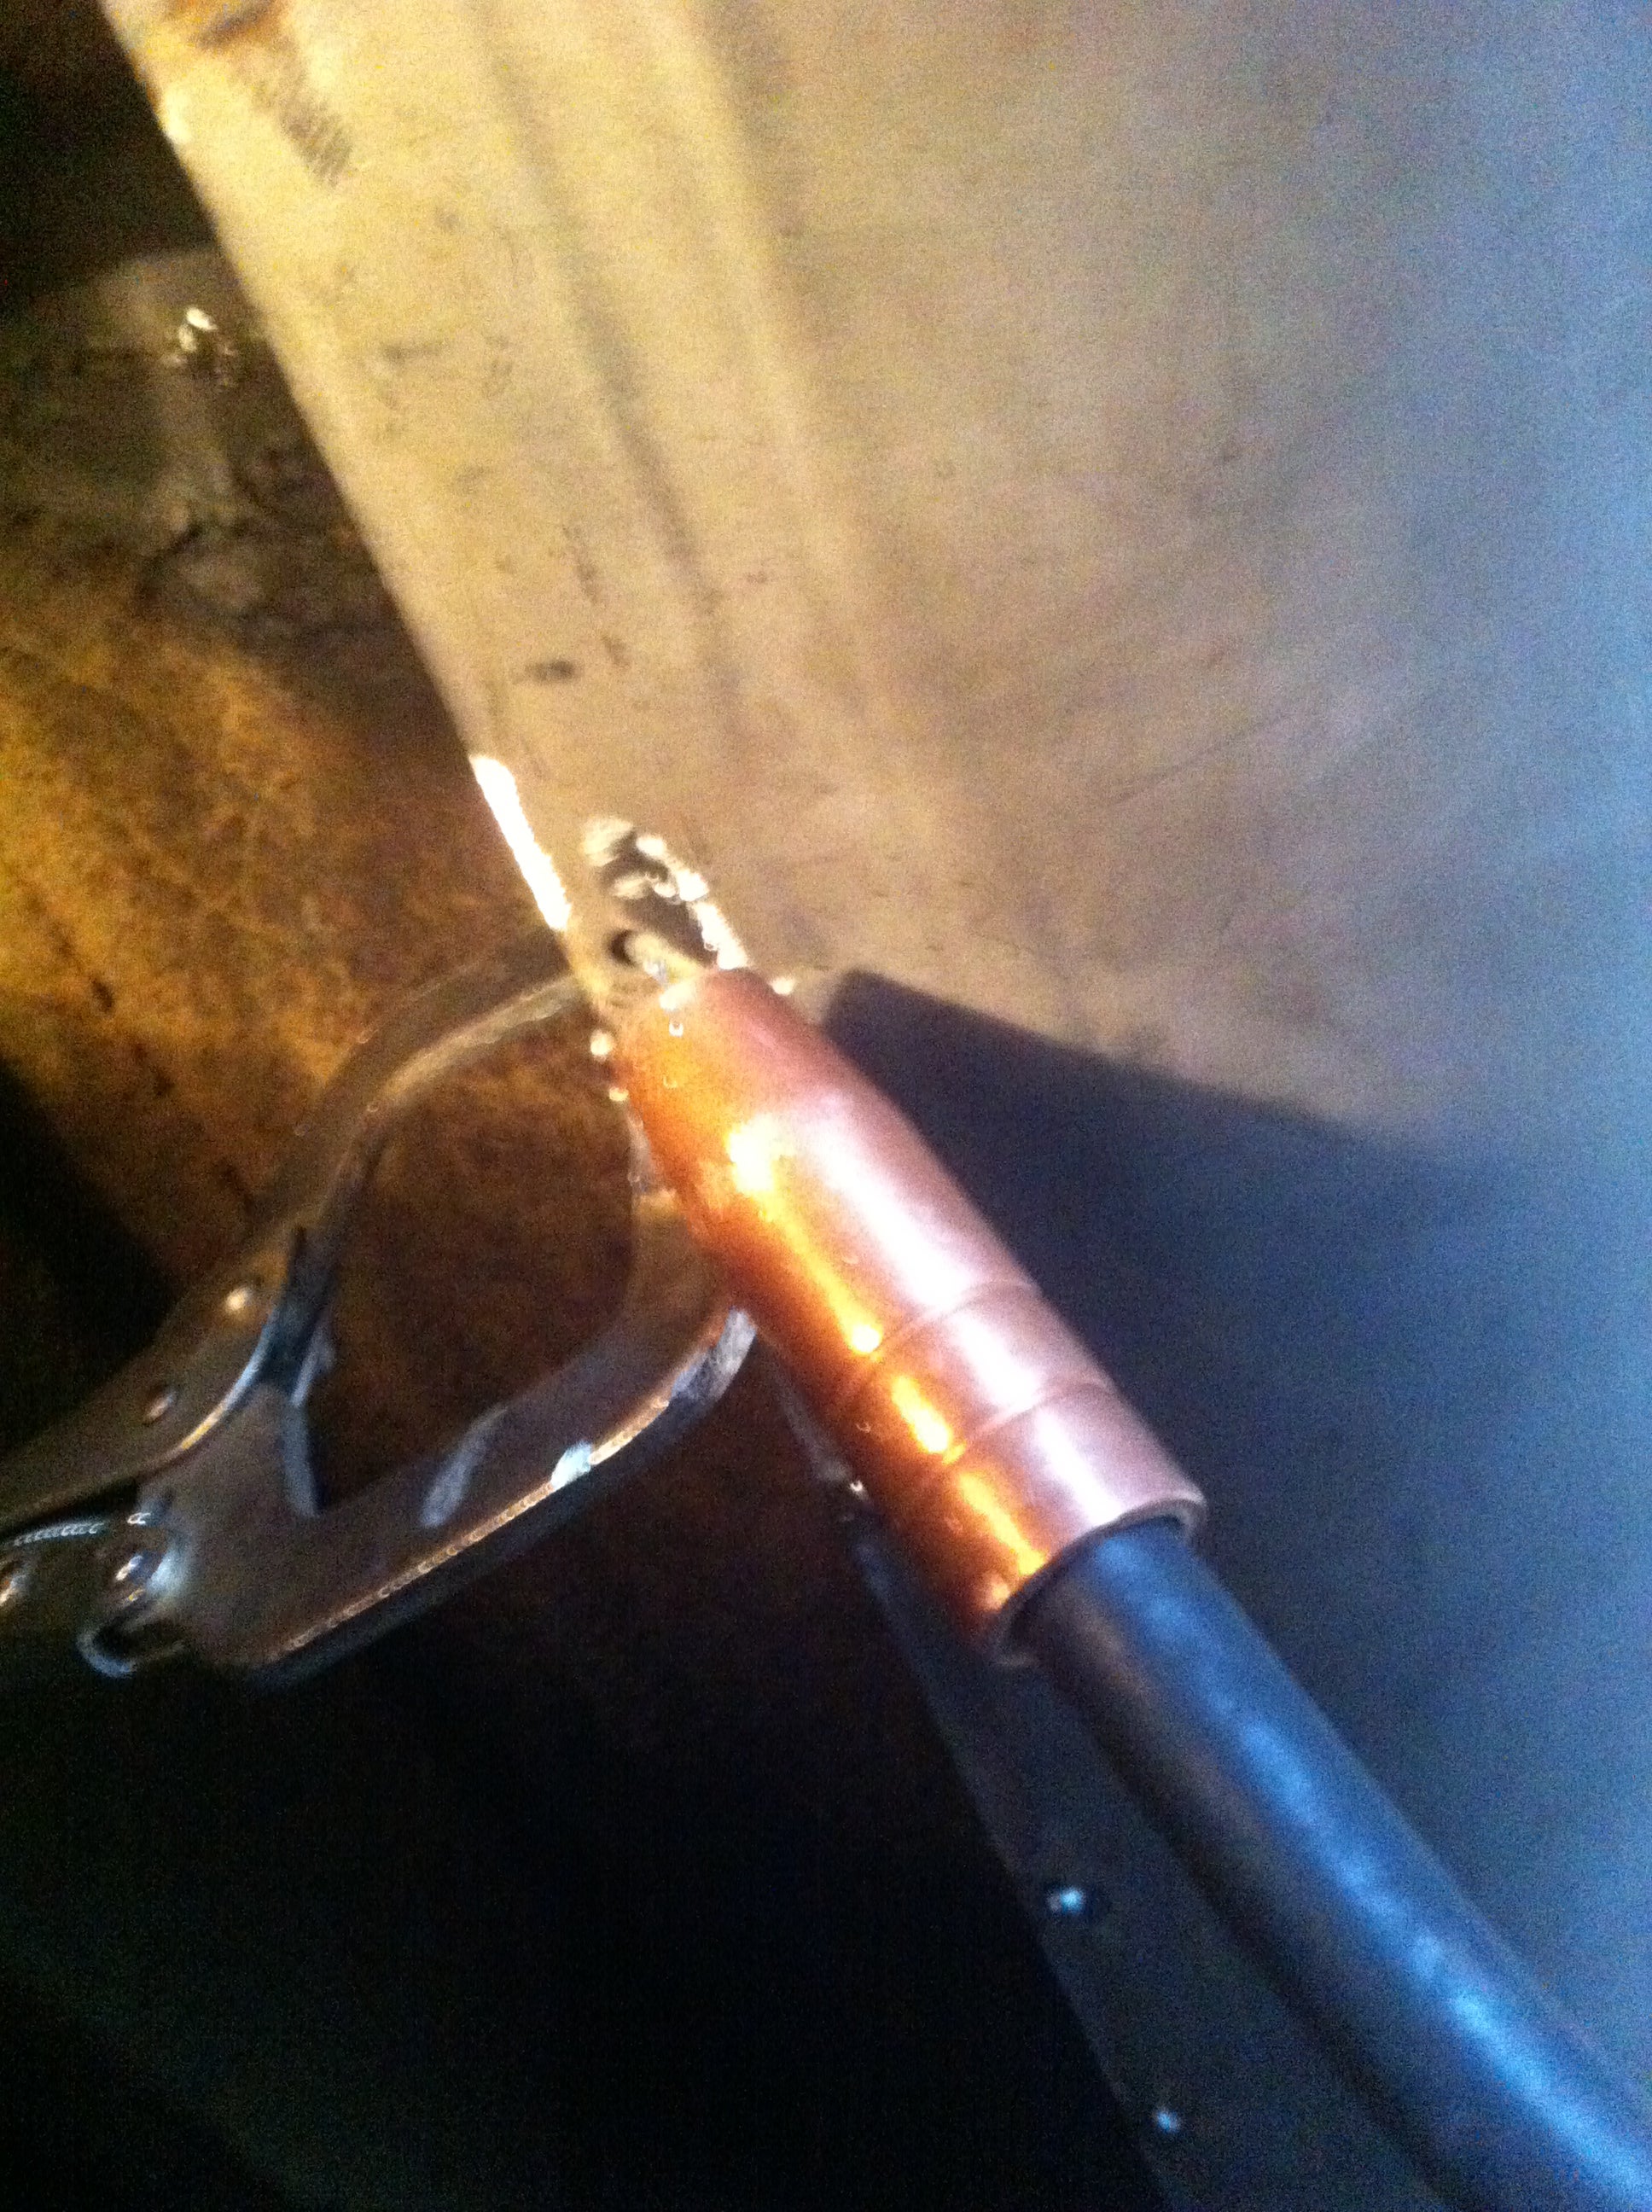
BZZZT!
First I scuffed the inside of the panel with red Scotch-brite to scratch the surface and create a mechanical bond between the steel and the primer.
I masked off the holes I punched so they'd still be clean enough to weld.
I coated the inside of the rocker panel with Self-Etching primer and then painted it with VHT's Chassis and Roll Bar paint.
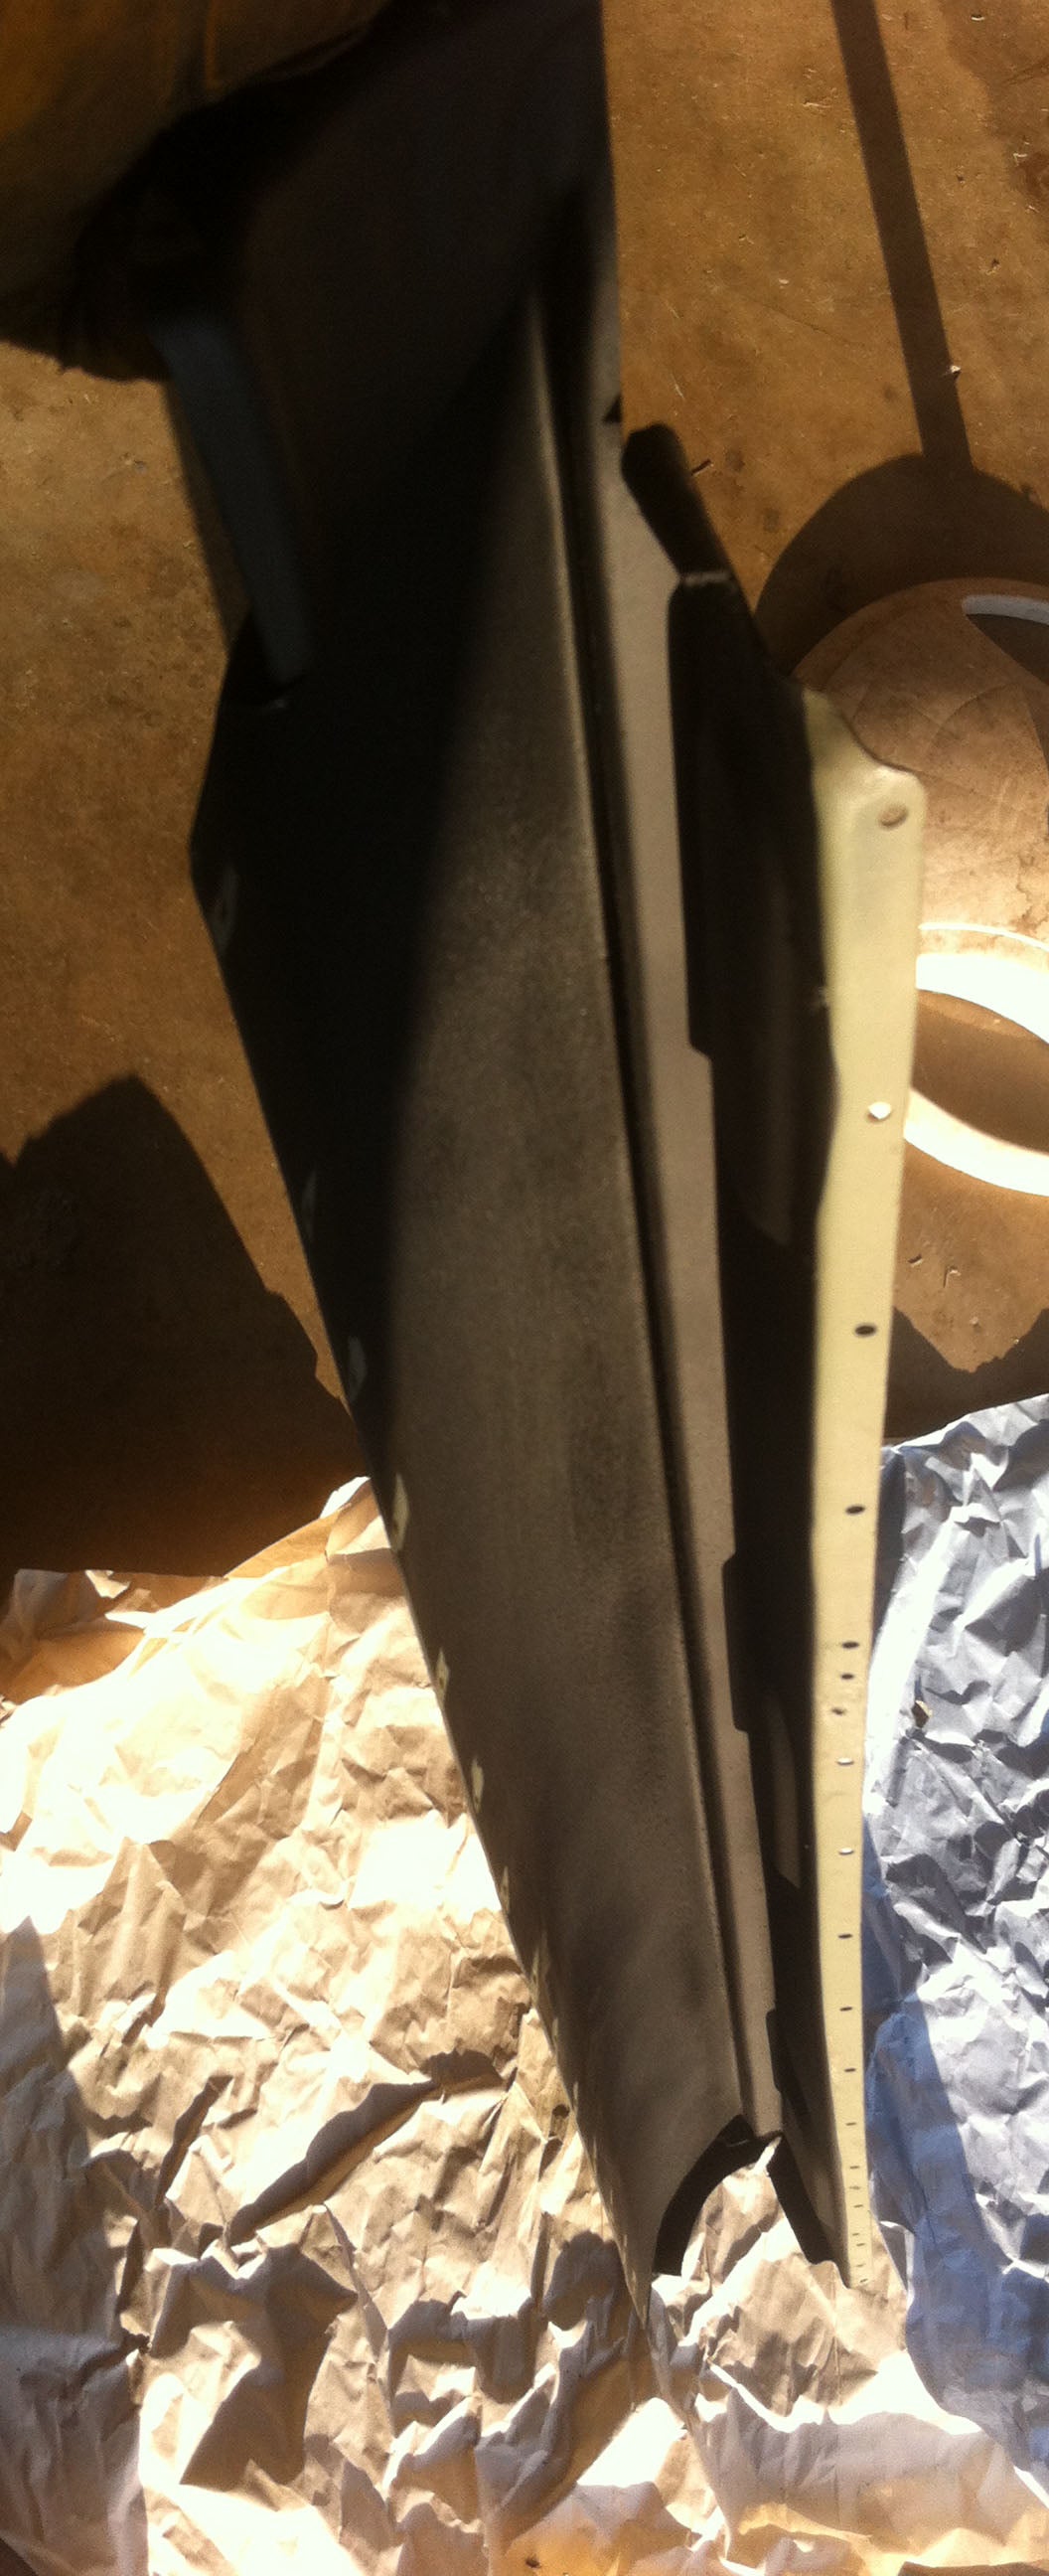
I like the !!!error: Indecipherable SUB-paragraph formatting!!! primer because I know that when I spray it on it's biting into the metal, and isn't going anywhere.
!!! UNKNOWN CONTENT TYPE !!!
It dries quickly which means I don't have to wait all day to get my next coat on or to paint over it.
I chose the !!!error: Indecipherable SUB-paragraph formatting!!! product for this application based on previous experience with the product.
!!! UNKNOWN CONTENT TYPE !!!
They advertise this as an Epoxy product which means it dries hard and remains durable. It's impervious to water and resists scratching.
I wanted something resilient inside the rocker to prevent future rust.
Here it is all welded in. There's still a tiny rectangular hole just behind the door that needs to be filled where I cut my patch too small but it shouldn't be too much trouble to fix.
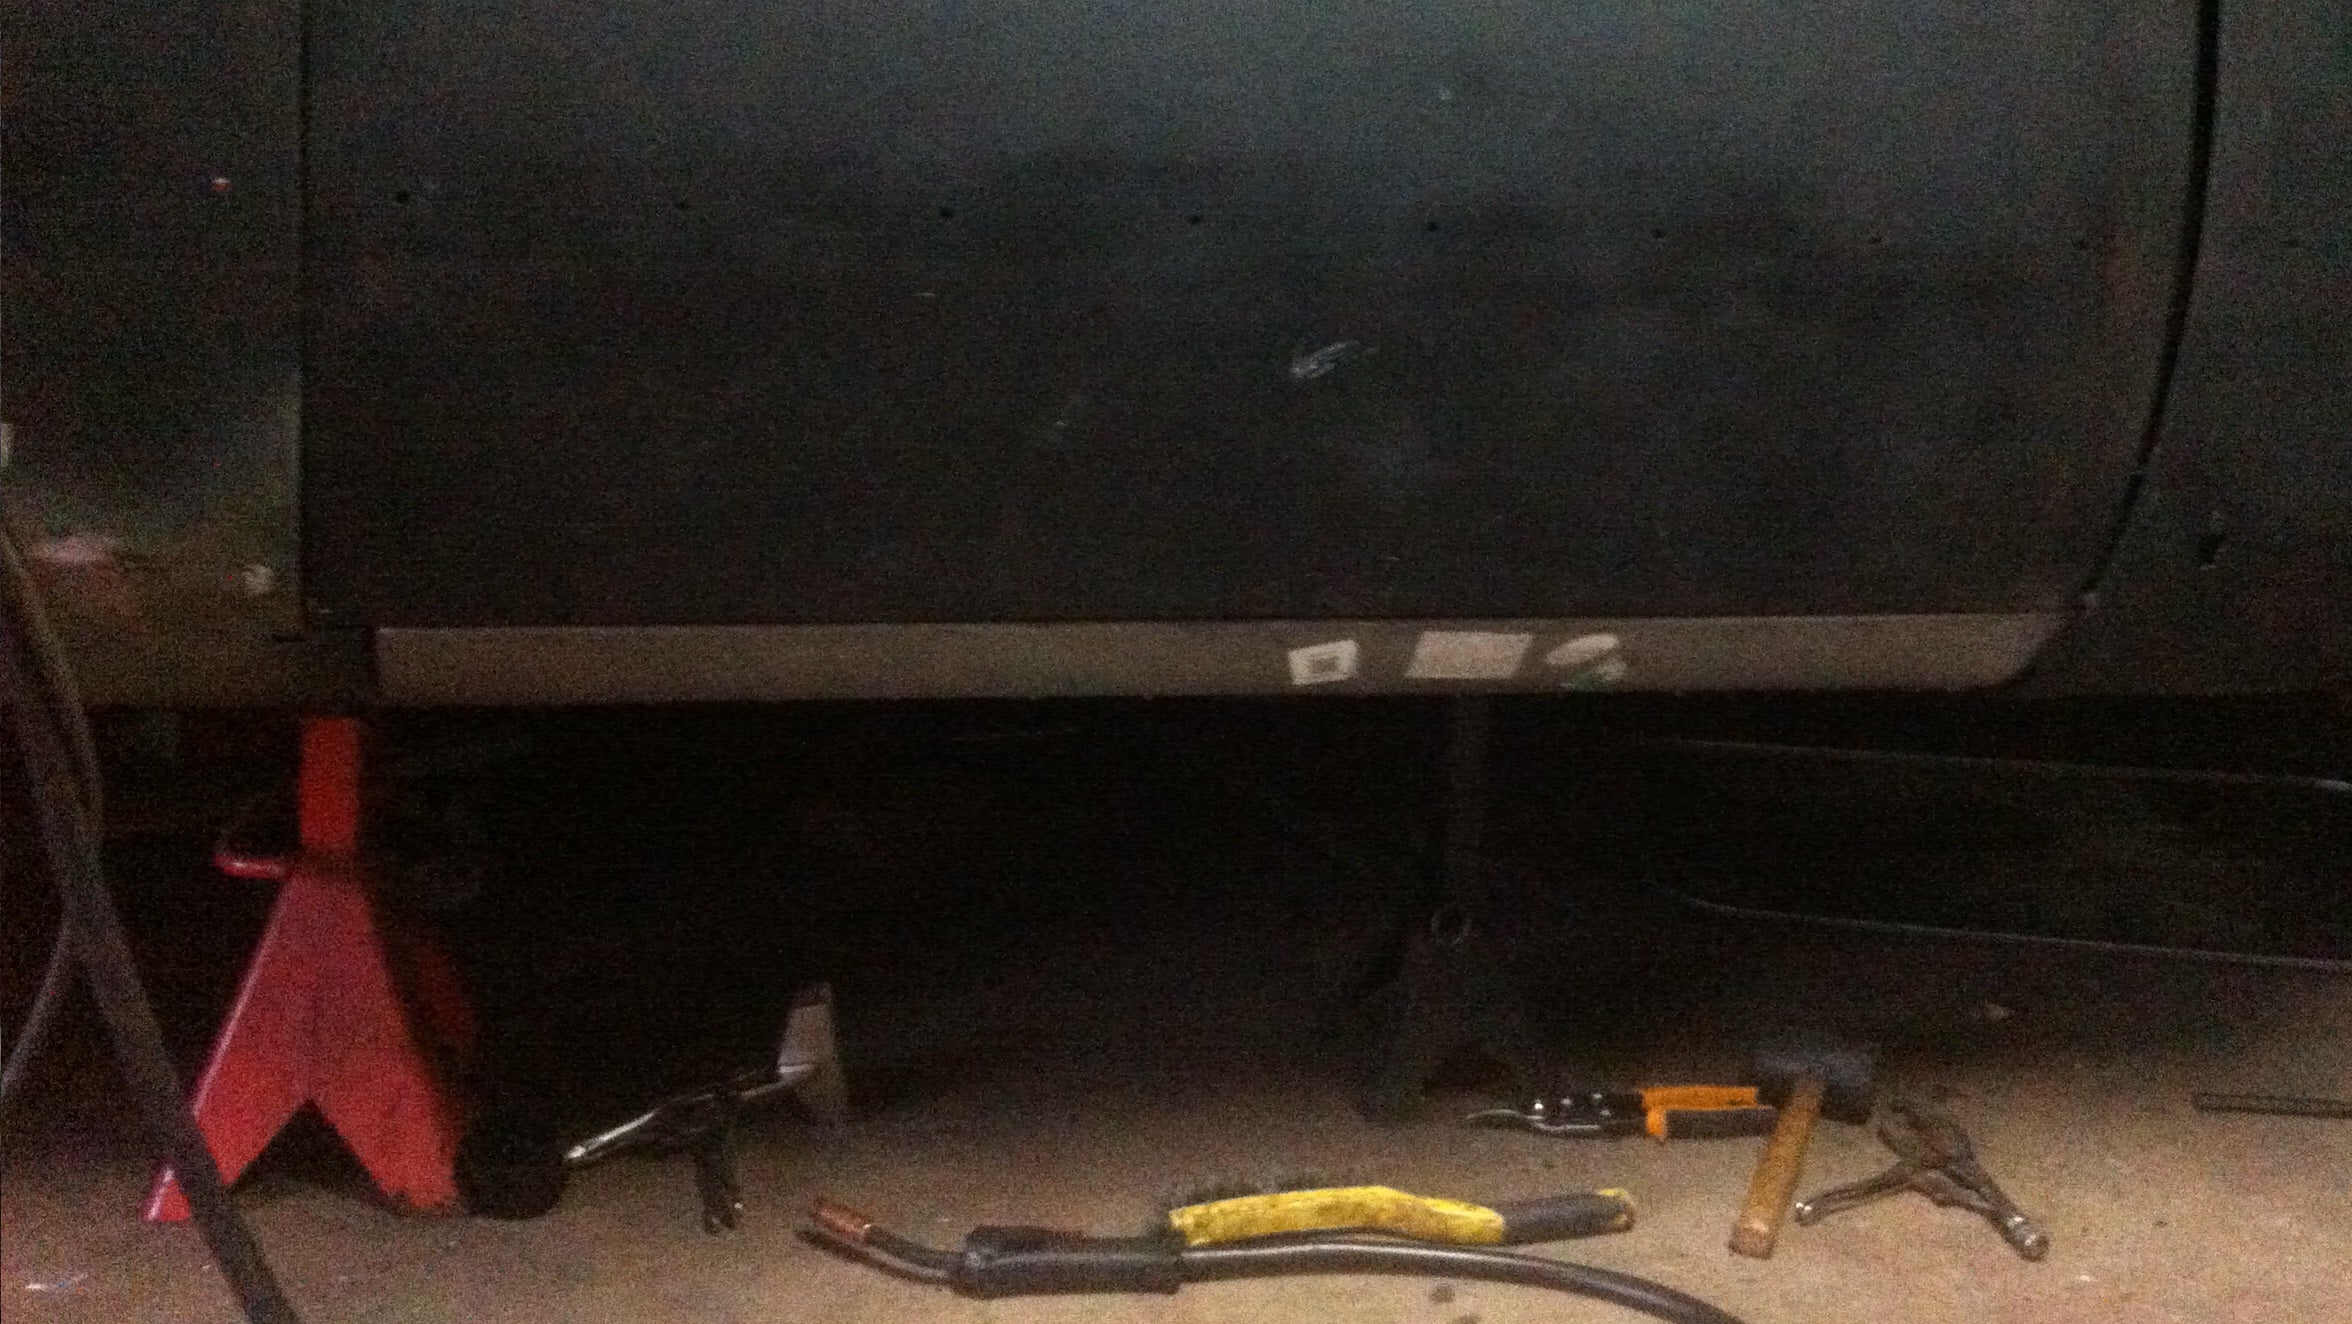
It's not perfect. The fit under the door could be a little better, and behind the door needs some hammer and dolly work before I start with body filler. I want to see if I can improve the gap at the back of the panel too. But hey, it's my first try and it's a lot better than all the nasty rust that was there before.
For now I'm going to scuff it, prime it, and hit it with some rattle can paint which will keep the rust off until it comes time for body work and filler. Stay tuned!
You can read more articles like this on !!!error: Indecipherable SUB-paragraph formatting!!! and follow me at !!!error: Indecipherable SUB-paragraph formatting!!!
 camaroboy68ss
> Aaron Vick Starnes
08/13/2014 at 17:24 |
|
nice write up! had to do that on our 56 Chevy not for rust but to cut off some molded in side pipes. Had to have a metal shop make the rockers though because no made a full length rocker surprisingly.
 RamblinRover Luxury-Yacht
> Aaron Vick Starnes
08/13/2014 at 17:28 |
|
I'm actually staring a Ford rocker panel job in the face right now. Falcon, so something that Dennis Carpenter stocks some pieces for, but it's the inner rocker nose that's gone (both sides), so I'll have to make it myself. The outers are perversely pretty good.
 GhostZ
> Aaron Vick Starnes
08/13/2014 at 17:32 |
|
I'd just leave it like this. That looks awesome.
 Nibbles
> Aaron Vick Starnes
08/13/2014 at 17:47 |
|
Awesome post! Mind if I share it to The Shade Tree ?
 Aaron Vick Starnes
> Nibbles
08/13/2014 at 17:54 |
|
Sure thing
 Nibbles
> Aaron Vick Starnes
08/13/2014 at 17:57 |
|
Thanks! Your work is exactly the kind of stuff we're hoping to cultivate there. Not trying to dilute Oppo's awesomeness or anything, just provide a nice little corner where everyone can keep track of build threads, how-tos, that kind of stuff. You're more than welcome there, let me know if you want authorship!
 Aaron Vick Starnes
> Nibbles
08/13/2014 at 17:59 |
|
You bet, bring on the authorship!
 Nibbles
> Aaron Vick Starnes
08/13/2014 at 18:06 |
|
Welcome aboard! Feel free to share
 TStoff1
> GhostZ
08/15/2014 at 00:08 |
|
Aaron: Thank you for telling us the products you used and why. There are a lot of us looking at projects right now that are looking at and trying to decide what to use. Can you tell me what you were using to keep the panels together in the photo?
Considering a SAAB 96 that fell into my lap. Unlike your car the panels for the floor are much more expensive, but the project is free and I don't have the experience you have. Now I have constructed two wooden boats and working on a canoe now. Can follow instructions and trying to evaluate the fesability of this project.